
HARDWOOD FLOORING INSTALLATION TIPS
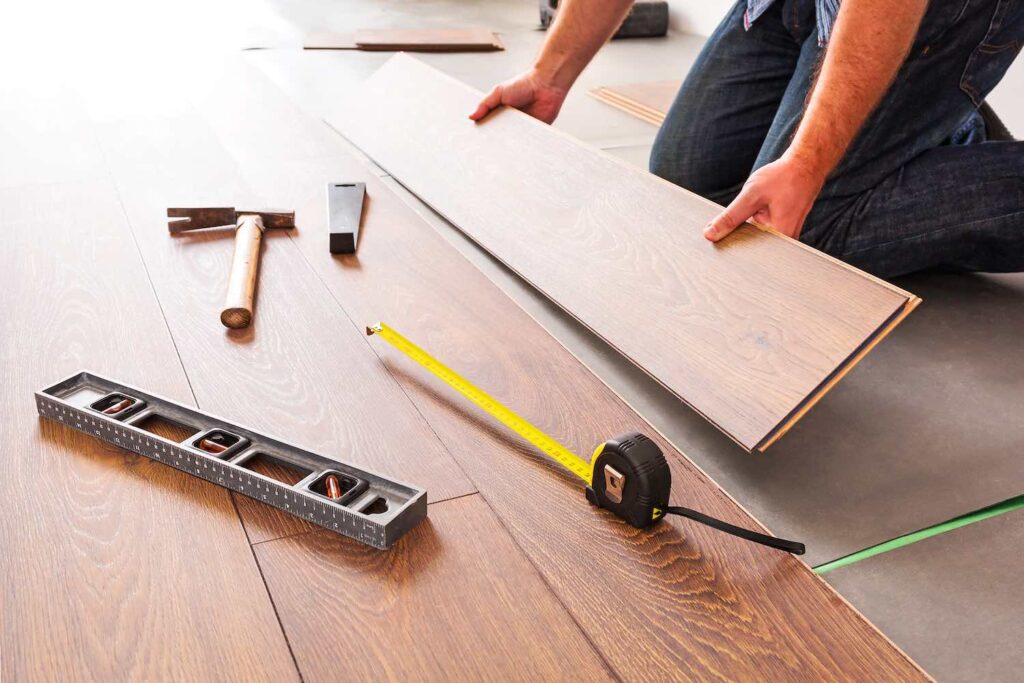
Installing hardwood flooring is an art. There are steps to follow, tools to use and new tricks to discover. No matter how long you have been installing them, there is always something new to learn or tips you didn’t know about.
Here are a few helpful tips to follow when installing hardwood flooring.
ACCLIMATION
Nature is in no hurry when it produces trees, and likewise, an impressive wood floor installation is never rushed. The sealed, unopened boxes should be laid flat, in the center of the room for a period of time beforehand. Laminate will acclimate over 24 hours, engineered and bamboo flooring takes three or four days, and solid wood requires five to seven days. DO NOT store the flooring outdoors, in an outbuilding, or anywhere with damp or condensation problems. The conditions where the flooring is acclimated should be as close as possible to the typical living conditions.
Using a moisture meter, take a reading of some boards from different boxes and then a reading of the subfloor. Make sure the difference between both of them is not higher than 4%, otherwise it will cause cupping or shrinkage.
The room temperature shouldn’t be lower than 18°C (64°F), with a floor temperature higher than 15°C (59°F). The Atmospheric Relative Humidity should be between 40 and 60%.
Determine the direction of the floor
There are different options here but let’s talk about the most popular ones
- Perpendicular to floor joist: This only applies if the subfloor is plywood. This is the most common way to rack flooring. This will preserve and respect architectural structure making the floor more stable.
- Perpendicular to front door: Interior designers affirm, in most cases, that hardwood floor should be installed perpendicular to the front door. Doing so will allow the space to look larger!
- Parallel to front door: Sometimes you want to install the floor parallel to the front door. This is the case with rooms that are long and narrow. Installing floor vertically will make it look enclosed while a horizontal layout will make it look wider and more spacious.
Level your subfloor
Make sure your subfloor is leveled. Confirm that any changes on the surface are not higher than 3/16” and if you have high or low spots fix them accordingly before adding the hardwood floor.
Sand any high spots and raise low spots by using pre-mix cementitious leveling compound.
Make sure your first row is straight.
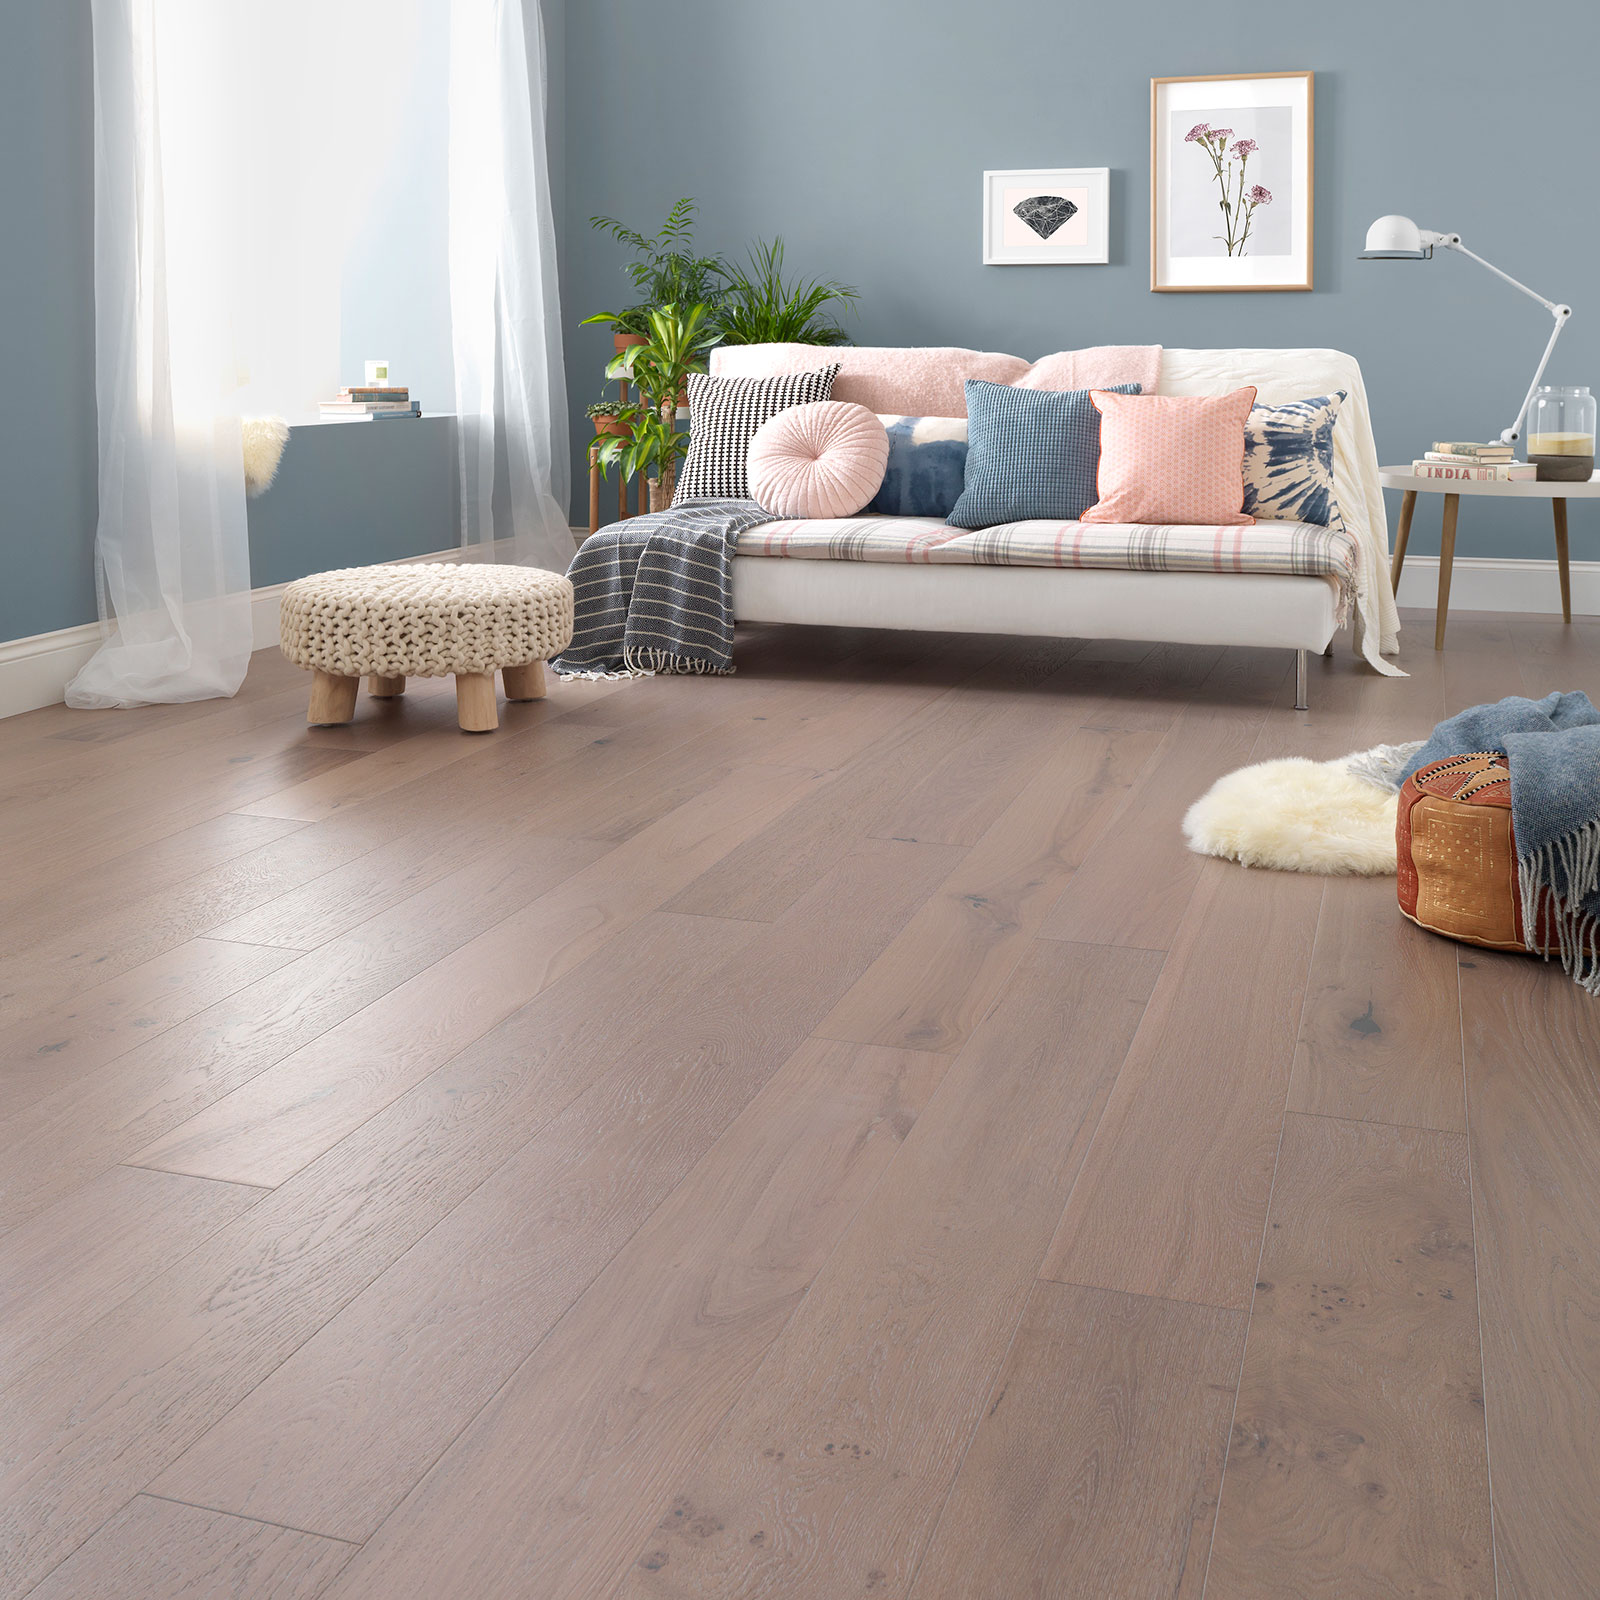
Before installation can begin a few calculations need to be done, and you might have to do some cutting before you can start laying. Consider the layout of the room including the direction of the light – a wood floor looks more natural if the planks run towards the light shining into the room. Also look at the layout, walls, doorways and other obstacles. When you’ve chosen your starting wall, measure the width of the room from there and divide that by the width of the flooring panels. This will give you the number of rows of boards you’ll lay and the width of the last row. If your last row is going to be under 3in wide, cut the boards in your first row lengthwise accordingly so that your last row isn’t too narrow.
Rack the floor.
Racking is the talent of laying down hardwood floor in a way so that it looks uniform and beautiful. This is a very important step as it will give you the opportunity to see the floor layout and adjust any imperfections before it is nailed or glued down.
To create a beautiful balance of color across the floor, lay planks consistently, mixing lighter and darker shades. Woodpecker floors feature natural color variations that are true to the character of timber meaning some boards vary in shade to others.
Nailing the last row
Nailing the last board of your floor is difficult as the floor nailer doesn’t fit close to the wall. You will need to top nail the last plank and add a bead of glue on the previous board. Use a leftover piece of wood and pry bar to securely hold these two while you top nail the last one in place.
DON’T OVERGLUE
Never glue the tongue and grooves together if you choose to fully stick down a wood floor. Too much pressure will be placed on the boards and they could crack.
IT’S NAILS OR GLUE, NOT BOTH
Never use adhesive to glue between boards if it’s being nailed down. The glue will inhibit the natural flexibility of the flooring and could cause cracks.
From all of the above it is plain to see that after browsing our extensive wood floor range to find the design you desire, it is crucial to ensure it is properly fitted to truly make the most of its natural beauty.