5 Top Tips for a Successful Herringbone Installation
There’s no question just how stunning a herringbone floor can look when installed correctly – those striking patterns will truly transform any room. However, herringbone can also be surprisingly unforgiving for the inexperienced installer, or if site conditions are less than ideal. This can lead to an unsatisfactory finished look which can be tricky, and costly, to put right.
In this article, we’re going to talk about our 5 top tips for how to lay parquet flooring which should help you avoid any painful parquet heartbreak that a bad install may cause!
Apart from all the normal rules that should be applied to any wood floor installation, there are 5 key points that should be considered in order to achieve a successful herringbone floor which we’ve discovered during our years in the wood industry.
If you’re still learning about herringbone flooring then be sure to read our blog; What is Parquet Flooring, before you go any further.
5 Top Tips for a Successful Herringbone Installation
- Level the subfloor
- Establish the layout
- Measure & mark the room
- Mix & match planks for colour variation
- Read the instructions
1. Level the Subfloor
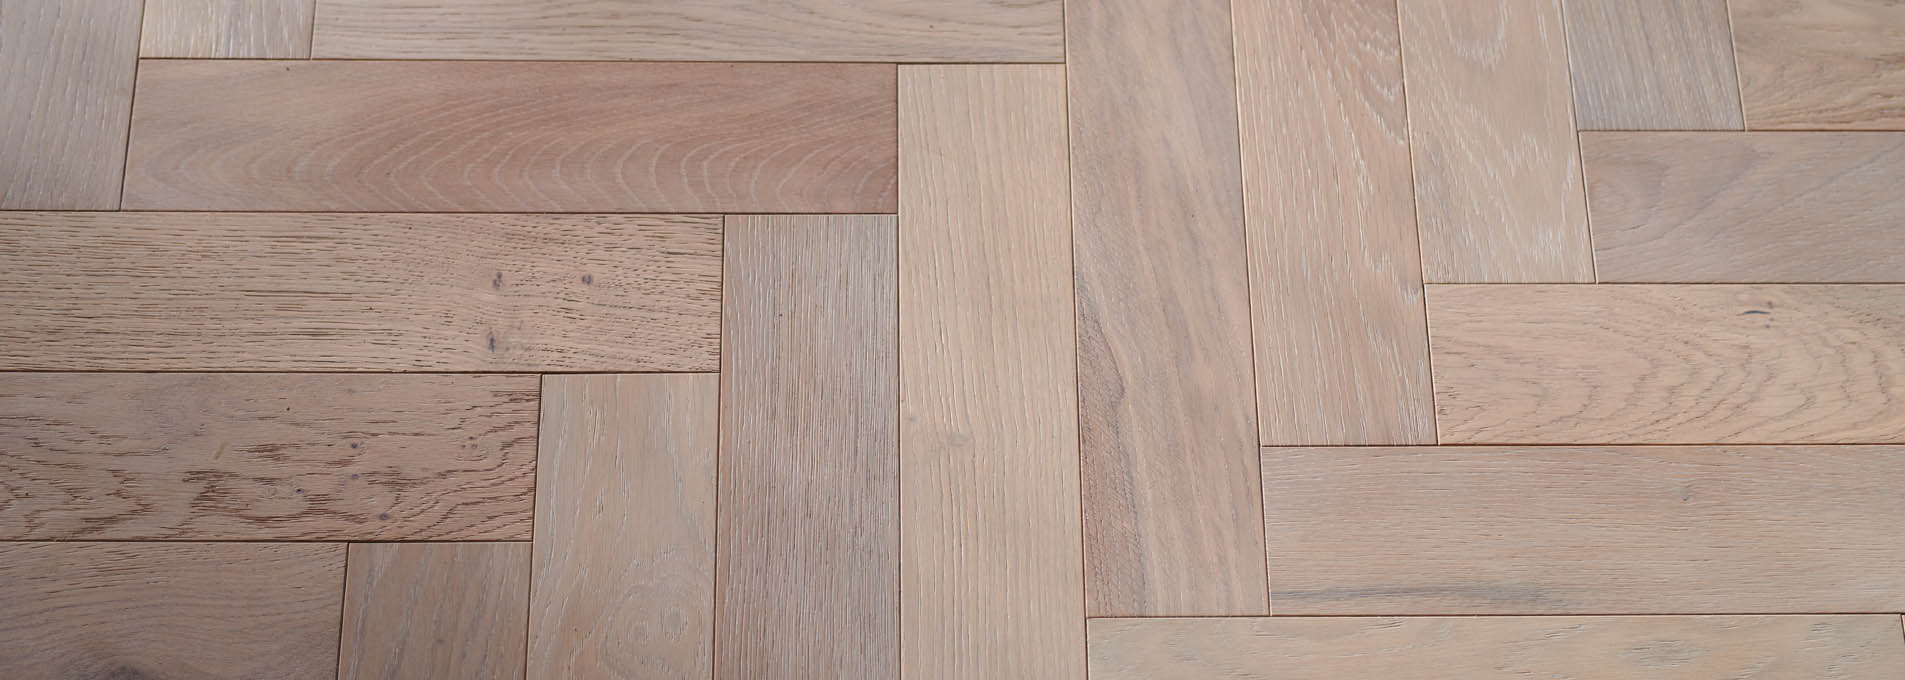
Leveling of the subfloor is even more important than usual for a herringbone installation, as the small herringbone blocks are less able to disguise or bridge over dips and ridges compared to a plank floor. The end result will show any undulations and may cause the corners of the blocks to be slightly raised.
Our normal recommendation is a maximum deviation of 3mm under any 2-meter area, but any sharp changes of level – even within these parameters – should be fixed with a suitable leveling material. Additionally, a low-profile floating product like our wood-effect Brecon herringbone is even more susceptible to following the contours, therefore more time in subfloor preparation is definitely time well spent!
2. Establish the Layout
Establishing where the herringbone pattern needs to fall is vital for a beautiful finish. Because parquet flooring has such a strong visual impact, the central V pattern must be aligned to the most important sight-line. This could be the main entry doorway to a room, but it could also be a key feature in the room such as an ornamental light fitting, a bay window, or a feature fireplace.
Of course, this will vary depending on your room, so it is vital to think about this placement before installation begins as it will set the flow for the room.
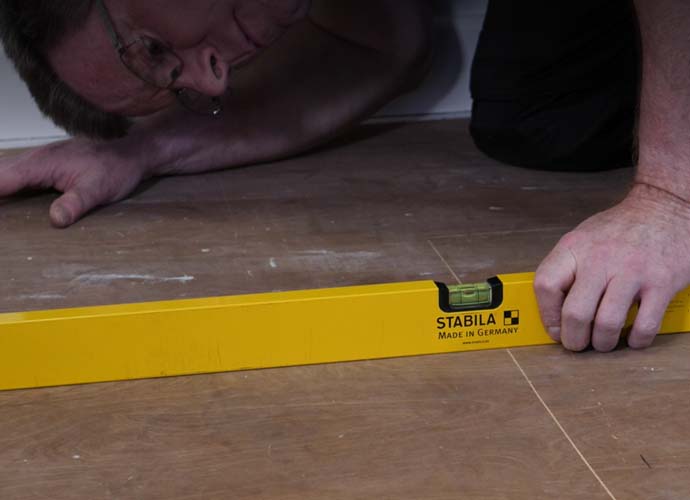
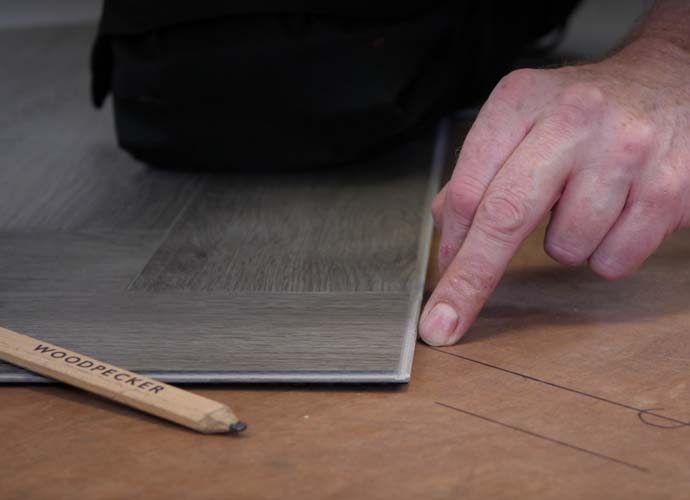
3. Measure & Marking the Room

Measuring and marking the setting-out lines is hugely important. If at all possible it is best to avoid a situation where the pattern at the edge of a room looks wrong. This can happen where a wall is not straight or square with the rest of the room, and the pattern seems to “disappear” under the skirting, or finishes with a whole lot of tiny cut pieces.
Even more critical is a situation where the flooring needs to be laid around a central island feature, or where rooms interconnect at more than one doorway. Having the pattern lines marked out beforehand with check-points to ensure that the pattern is not “creeping” will allow it to join up correctly on the other side of the obstruction.
Even in a straightforward room, accurately setting it out beforehand, and then keeping strictly to those lines, is a vital principle. This keeps the pattern straight and avoids the tendency for minor milling variations to cause the lines to deviate.
4. Mix & Match Planks for Colour Variation
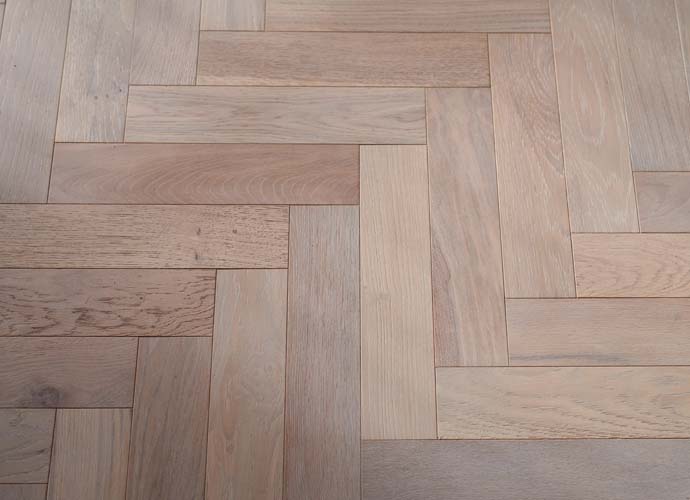
Mixing the parquet blocks from different packs is always good practice, but herringbone – especially real wood herringbone – can display a spectacular array of different visual effects from its varying grain direction. So a good even mix of blocks from several packs will help to prevent any unwelcome patches or strips of similar texture or colour – resulting in a floor with a beautiful colour variation.
5. Read the instrutions
We understand it can be tempting to jump right into an installation and skip the instructions, but this is a very important step. Even if a floor is the same type, such as engineered, there may be different installation requirements that are specific to that floor.
For example, newcomers to click-joint flooring like Brecon herringbone may not know that the laying process is fundamentally different. A traditional glued-down tongue-and-groove herringbone floor is normally laid by establishing the first pattern row down the middle of the room, and once the adhesive has set, then adjacent rows of pattern are added on either side. However, with a floating Brecon herringbone floor, the unique click-joint system has to be laid in a specific sequence, starting from the back wall of the area, and building up subsequent rows across the whole width of the room.
For more information on that style of fitting, view our YouTube video below which shows how to lay a Brecon herringbone floor:
We hope this article has given you some helpful guidance on how to lay herringbone flooring successfully, but if you’ve still got questions then feel free to contact our friendly sales team to get some more advice.
Subscribe to our Inspiration Journal for monthly style, trends, and news updates, or follow us on Instagram to see gorgeous interiors right on your feed.
