How Do I Fix Squeaky Floors: Repair and Prevent Noise
Squeaky hardwood floors can happen as materials move, settle, or wear. But you don’t have to put up with it. If you’re wondering how do I fix squeaky floors, you’re in the right place. With the right approach, you can understand what’s happening underfoot, fix the noise, and help stop it coming back.
This guide gives you clear, practical steps to identify the cause, choose the best repair, and keep your floors quiet for years to come.
Why Are Your Floors Squeaking?
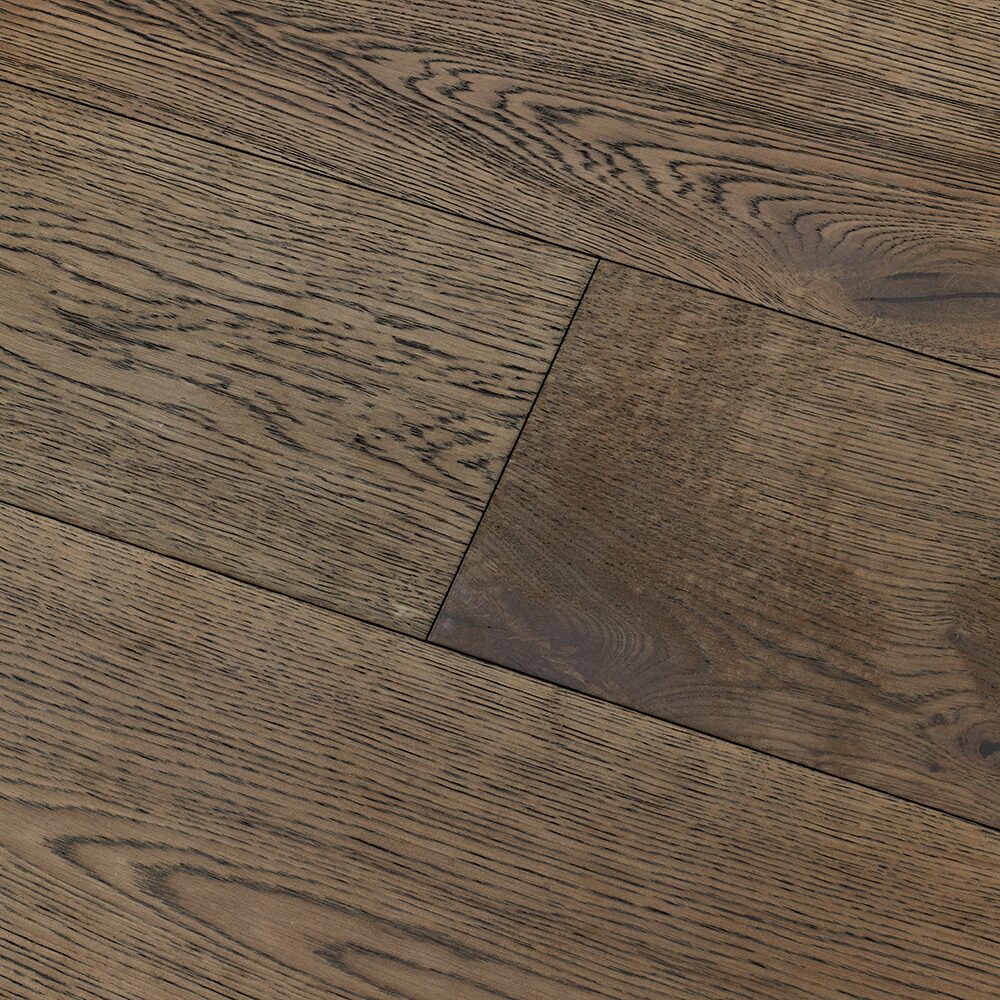
Squeaks always mean there’s movement somewhere in the floor system. Boards can rub together as they expand and contract with seasonal humidity changes, creating creaky wood floors if movement isn’t controlled.. The subfloor might not be properly secured to the joists, allowing it to flex. Fastenings can loosen over time, or gaps may form as materials dry and settle. The subfloor may also be outside of flatness tolerance, allowing the floor covering to move when walked on and squeak.
Understanding where this movement is happening is the first step to solving the problem. The right solution depends on knowing exactly what is moving and why.
Locating the Squeak
When thinking about how do I fix squeaky floors, you need to start by finding the exact spot making noise. Walk slowly across the floor and listen for the telltale creak. Being precise ensures your fix actually addresses the issue rather than just covering it up temporarily.
How to Fix Squeaky Floors from Below
If you can access the floor from underneath (for example, from a basement or crawlspace), you have an excellent opportunity to stop the problem at its source.
Look for gaps between the subfloor and joists or areas where the subfloor flexes. Driving short screws from below into the subfloor can tighten these spots securely without disturbing the surface above. If it’s a floating floorcovering, be very careful the screw doesn’t enter the floorcovering from below, as this can restrict expansion and create more squeaks. It’s best to space screws roughly 150-200 mm apart along the squeaky section, being careful not to over-tighten and split the timber.
Applying a bead of construction adhesive along the joist where it meets the subfloor can also help. This fills any gaps, bonds the materials, and reduces movement that leads to noise. By strengthening the structure at this level, you can eliminate squeaks in the most reliable way.
By addressing the movement directly, you’re strengthening the whole floor structure.
How to Fix Squeaky Floors from Above
If you don’t have access from below, you can still deal with squeaks effectively from the top. Specialist squeak repair kits let you drive screws through carpet or finished flooring and snap them flush, pulling the subfloor tight to the joist without leaving visible fixings. However, this method is not suitable for floating floor coverings. A floating floor is installed without being nailed or glued down, often over underlay, with boards locked together but not fixed to the subfloor. If in doubt, check the installation instructions or lift a threshold strip to see if the boards are floating freely.
For exposed timber floors, trim head screws sunk just below the surface can refasten loose boards. Filling the holes with matching wood filler keeps the finish clean. Screws generally hold better than nails. For surface damage beyond squeaks, like how to fix a deep scratch on wood floor, consider professional refinishing products or spot repair kits.
For very minor movement between boards, sprinkling talcum powder, graphite or specialist floor lubricant into the seams can help reduce friction and quiet small rubbing sounds, though it won’t address deeper structural movement.
How to Prevent Future Squeaks
Stopping noise is one thing, but if you’re really thinking about how do I fix squeaky floors for good, prevention is key.
1. Prepare the Subfloor Properly
A well-prepared subfloor is the single biggest factor in avoiding future noise. It should be clean, dry, flat, and properly fixed, with all movement eliminated before installation begins. Checking moisture levels is essential; excess moisture can cause expansion and contraction that leads to friction and squeaks as the joints are forced together. If you’re wondering how to draw moisture out of wood floors, always follow manufacturer guidelines for drying times and acclimatisation.
2. Use the Right Underlay
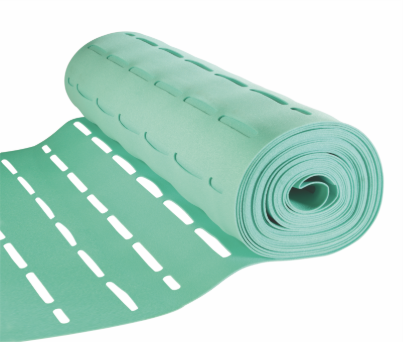
Choosing the right underlay also makes a big difference. It’s not just the layer beneath your floor; it directly affects how your floor feels and performs. A good underlay cushions minor subfloor variations, absorbs impact sound, and helps protect the flooring over time.
Acoustamat is designed to deliver excellent sound reduction while giving your floor the support it needs to stay stable and quiet. Explore our underlay guide to find the best fit for your project.
Make sure to check whether the product includes integrated underlay, such as our Stratex ranges, since you shouldn’t add extra underlay if it does.
3. Allow for expansion
Wood naturally expands and contracts with changes in humidity. It’s important to leave suitable expansion gaps around the perimeter of the room and at transitions so boards can move without stress that causes creaks. You can watch the video below for more about expansion gaps.
Managing indoor humidity is another key factor. Keeping it consistent, ideally between 40% and 60%, reduces the seasonal movement that can lead to squeaks. Careful planning during installation helps you create a floor that stays solid, quiet, and dependable for years.
Mistakes to Avoid
Many squeaks come from rushing or skipping important steps. Installing over a damp or uneven subfloor can introduce movement from day one. Using nails alone instead of screws may not hold as well over time. Over-tightening screws can split boards and weaken joints. Blocking expansion gaps prevents natural movement and creates stress points. Skipping underlay or choosing the wrong type reduces sound absorption and stability.
Paying attention to these details isn’t about adding unnecessary steps. It’s about ensuring your floor is solid, quiet, and built to last.
Living with Wooden Floors
Wooden floors are natural. They have character, and yes, they can move with the seasons. It’s part of their charm. But they shouldn’t squeak constantly.
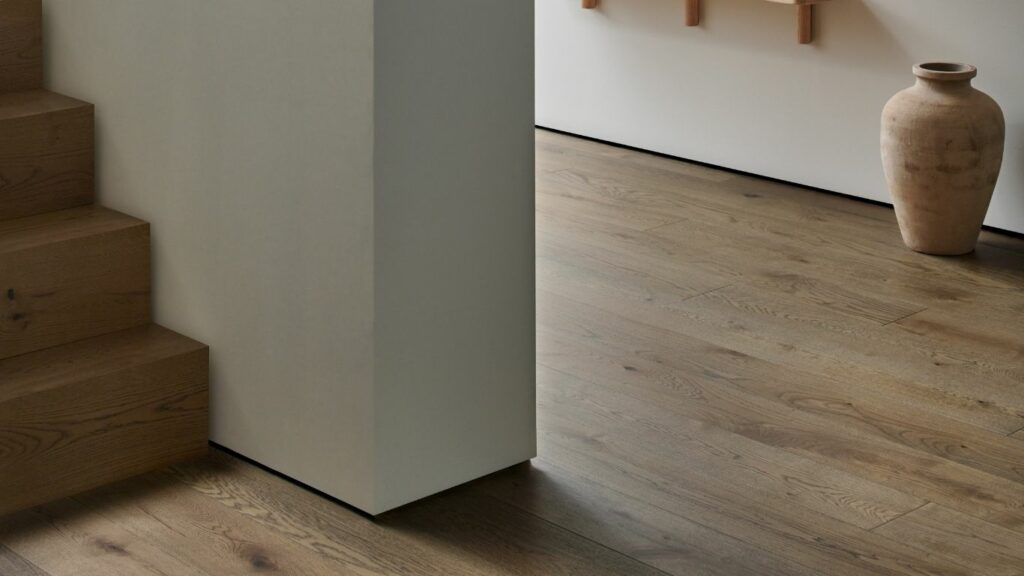
When you fit well, maintain properly, and use the right products, you’ll enjoy decades of silent, solid steps. Just look at Katie’s beautifully bright Isleworth home for inspiration. It’s proof of what care and expertise can deliver.
By taking the time to understand the problem, choosing the right products, and applying the right techniques, you can keep your floors quiet, comfortable, and ready for the years ahead. For more than squeaks, you might also ask how do you get scratches out of hardwood floors, and it’s worth choosing quality finishing products to maintain their appearance over time.
