Herringbone Floor Installation Costs, And What Impacts the Price?
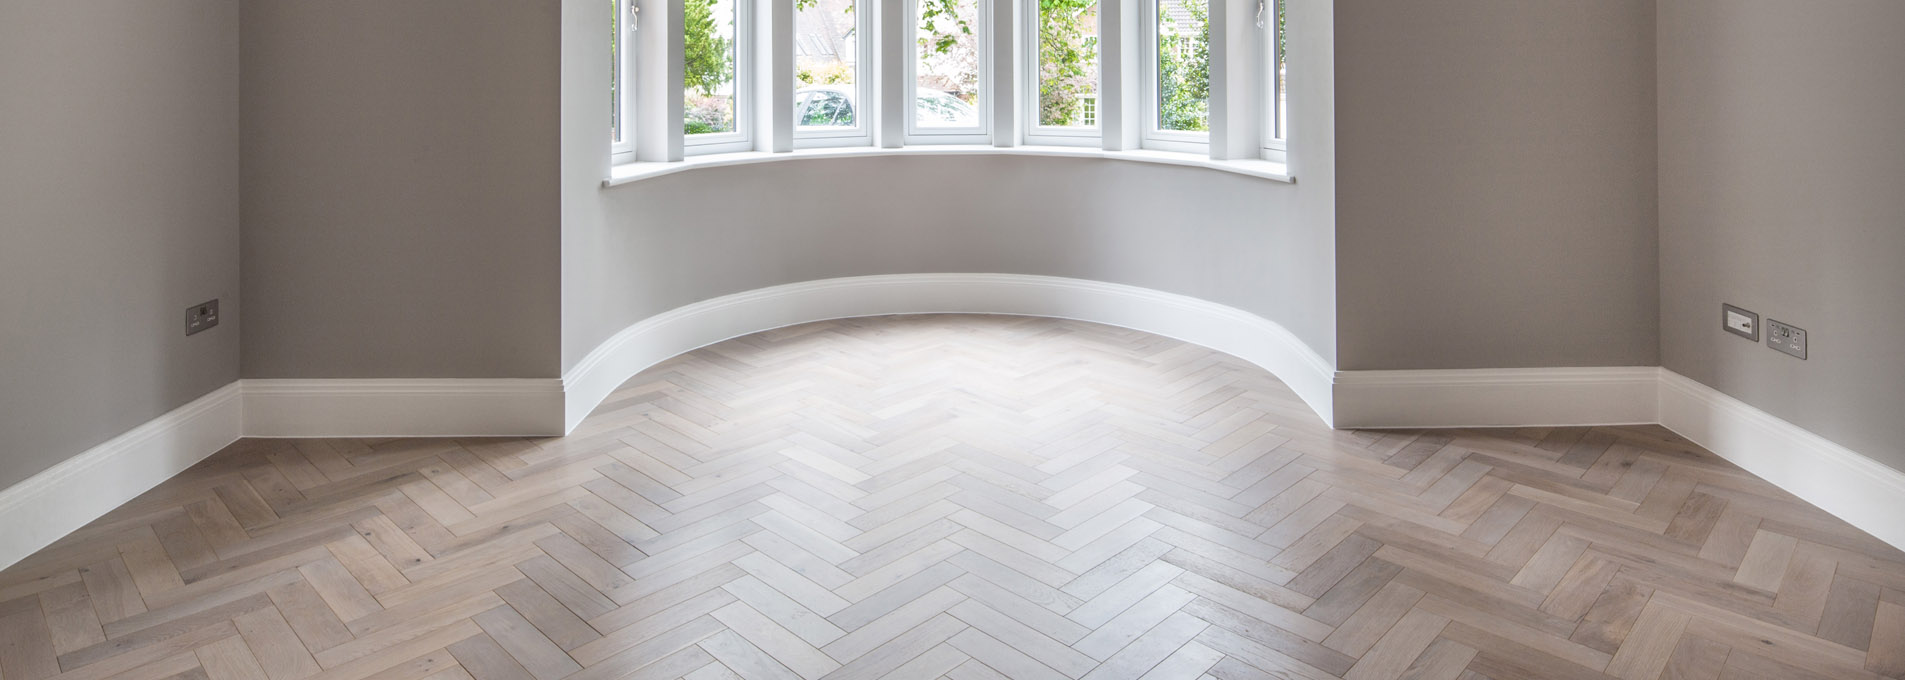
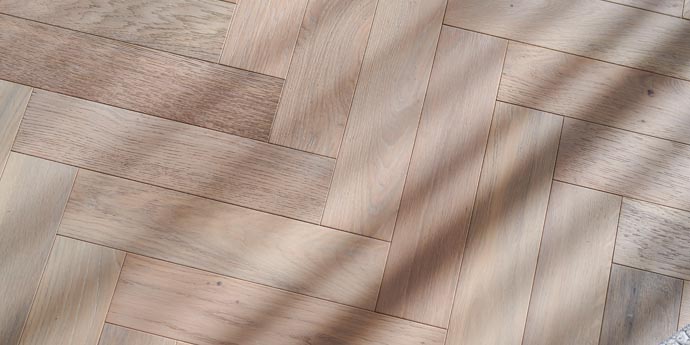
Goodrich Feather Oak
The idea of getting a herringbone or parquet floor can be both an exciting one, and potentially a rather daunting one! Whilst the vision in your head may be a huge motivating factor, the elements to consider might be putting you off making that dream a reality – especially if you’re fortunate enough to have a uniquely shaped room and unsure of where to even begin when it comes to pricing it all up!
In this article, we’ll be discussing herringbone floor installation costs and what can impact the amount you’ll need to spend – including room shape, subfloor condition, and even where you live. If you’re unsure about what herringbone/parquet flooring is, take a look at our ‘what is parquet flooring‘ article.
Factors that can impact your herringbone/parquet flooring installation cost:
- The shape of the room
- Subfloor preparation requirements
- Fitting method
- Experience and expertise of the fitter
- Floor wastage
- Where you live
The shape of the room
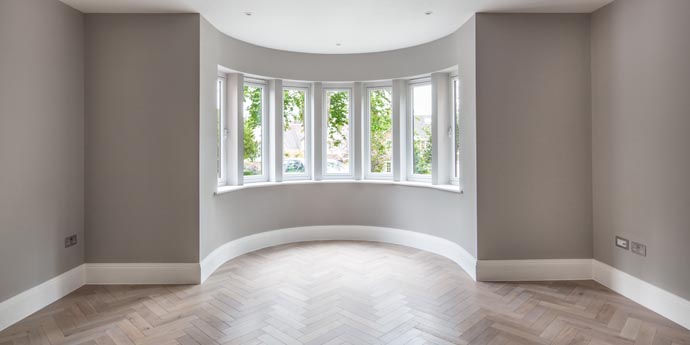
The shape of the room may seem like an obvious factor that will increase the cost, but it doesn’t just refer to the amount of product required to cover the floor – the shape can actually impact the difficulty of the installation which will have a knock-on effect to the amount of wastage allowance needed, product needed and additionally, labour time.
Similarly, the number of doorways can also influence the cost, especially if the flooring is being laid after architraves are fitted as they need to be ‘undercut’ to hide the expansion gap. Therefore, a single large room with herringbone flooring will cost less than several rooms and a corridor of the same overall area.
Top tip – If you’re installing herringbone flooring in a room with built-in cupboards – such as your kitchen, get the flooring installed last so that you’re not paying for product that is never going to be seen!
Subfloor preparation requirements
Before installing any floor (not just parquet) the subfloor needs to be solid and flat (see our detailed fitting instructions for more information). If the area is uneven – such as old floorboards, you’ll need a plywood overlay to cover these prior to installing your new herringbone floor. If you’ve got a cement subfloor, it may require leveling with a self-leveling compound.
In the case of some ‘flow screeds’ you cannot bond a wooden floor directly to them, these can require a lot of work to prepare and increase the cost of installation substantially. We recommend having an in-depth chat with your chosen installer ahead of any work, they should be able to recommend suitable products and solutions based on your subfloor requirements and let you know the upfront costs.
Top tip – If you’re in the process of buying a house, it’s a good idea to ask the current owners about the subfloor and any issues they may have faced in the past to save yourself from making a nasty subfloor discovery in the future!
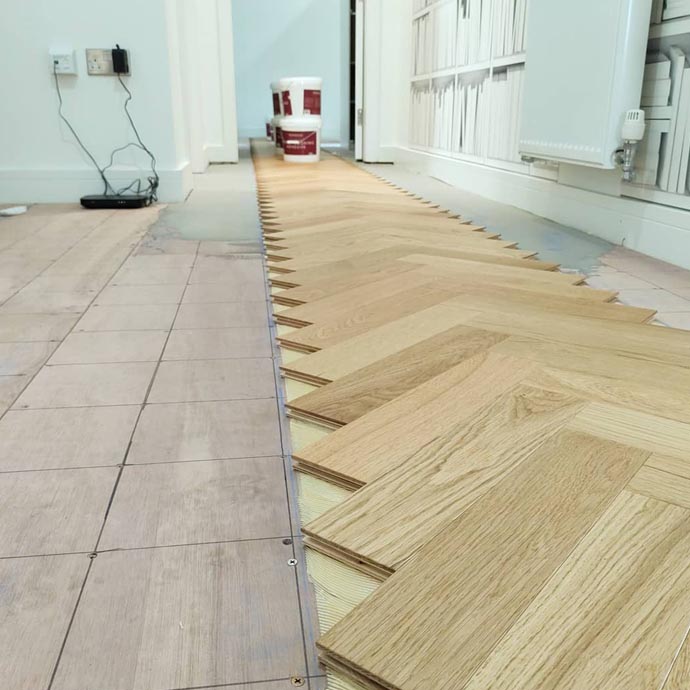
Herringbone floor fitting method
There can be different ways to install herringbone flooring depending on the type of joint the plank has. A tongue and groove joint is usually found on engineered floors, whereas a click system/click joint tends to be more common in laminate, vinyl, and Brecon herringbone when the floor thickness is slightly thinner.
When installing herringbone flooring with a tongue and groove joint, it can be laid in three ways.
- Fully bonded directly to the subfloor using a flexible adhesive designed for wood floor installation.
- Glued together at the joints over an underlay (this is commonly known as a ‘floated’ floor) – unless there’s underfloor heating in which case it needs to be fully bonded with adhesive.
- Nailed through the tongue into a wooden subfloor (this is referred to as ‘secret nailing’)
These vary in cost due to the labour time required and the cost of materials. For instance, adhesive is usually more expensive than underlay but floating over an underlay is a trickier install. Your installer should be able to guide you on your options and what will work best for your room.
The other common joint system for herringbone floor is a click system. When installing a herringbone with a click system, this should only be laid as a floating floor over the underlay, clicking the joints together. However, if your floor has a built-in underlay, like our waterproof Brecon range, then you won’t need to buy or install extra underlay – saving extra costs on material and labour.
Top tip – Don’t let the floor joint systems scare you, there are a lot of useful articles online to help explain the benefits of each fitting method for the different joints, if you need further advice on this then don’t hesitate to give our friendly team a call.
Experience and expertise of the fitter
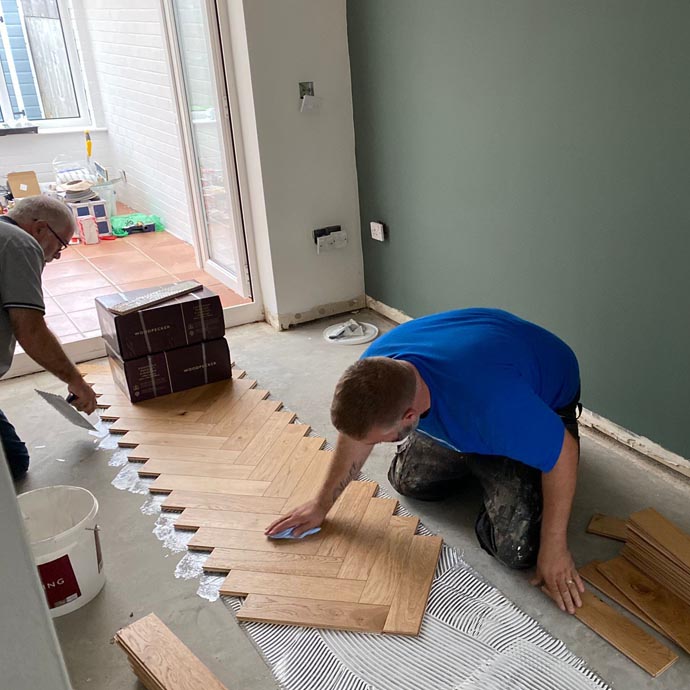
As you would expect, a more experienced fitter would usually charge more for their services (however this is not always the case). The benefit of going with an experienced professional flooring installer is that you have the peace of mind that an excellent job will be done aesthetically and without any installation-related issues. This is especially true with a herringbone/ parquet floor, since the installation is not as straightforward as planks, it requires great craftmanship to successfully measure, cut, and fit it.
Top tip – If you’re unsure of their experience or skill level, ask them to send you a couple of examples of herringbone floor installations that they’ve done, this might also give you some installation ideas too!
Floor wastage allowance
Wastage is the extra material needed over the exact meterage of the room to allow for planks to be cut around the edge. The amount of wastage needed depends on the joint system (tongue & groove or click system) and the shape of the room.
With a tongue and groove engineered herringbone like our Goodrich floors, you would generally allow for between 10-15% wastage on a large square/rectangle-shaped room. The percentage will increase if the room has features such as alcoves or is an awkward shape like discussed above.
Wastage is always higher on a herringbone floor with a click joint system because you can’t use the offcuts from one side of the room on the other side. We usually recommend approximately a 15-20% wastage allowance for a square/rectangle-shaped room and click system herringbone, but this does increase considerably if a room is smaller or more complex.
Where you live
Whilst you may be wondering how where you live will impact your herringbone floor installation cost, much like the flooring itself, flooring installations can vary in cost depending on what part of the UK you live in. From research with our partners, we’ve found that fitting can vary approximately from £40m2 up to £100m2 for a relatively straightforward room – this of course also depends on the factors listed above. Therefore, it’s worth discussing your plans with an expert once you decide that you want to renovate.
If you’d like to have an accurate herringbone installation quote based on your specific requirements and product choice, visit our retailer map and/or contact us directly and we’ll put you in touch with your local Woodpecker partner. They will be more than happy to help you get the herringbone floor that you dream of!
Looking to transform your home with herringbone? Explore our website and order yourself 3 free flooring samples – delivery is even free, too!
Don’t forget that we’re here to help answer any other herringbone questions you may have, simply submit a contact form, hop onto our live chat, and/or phone us directly.
Subscribe to our Inspiration Journal for monthly style, trends, and news updates, or follow us on Instagram to see gorgeous interiors right on your feed.
