Flooring and Subflooring: How to Prepare Your Space
When planning a new floor, one of the most important, and often overlooked, decisions starts before any planks are laid. Understanding the role of both flooring and subflooring is essential to achieving a smooth, secure and long-lasting finish. Whether you’re taking on a renovation or preparing for a professional installation, this guide will help you get ready with confidence and clarity.
What is subflooring and why does it matter?
Subflooring is the layer beneath your visible flooring. It sits on top of the joists and acts as the base for your floor. This layer must be level, dry, and stable, because every imperfection here will eventually show through on your finished floor. A well-prepared subfloor is critical for avoiding squeaks, dips and gaps in the years to come. No matter what type of flooring you choose, from solid wood to Stratex flooring, the preparation is always important.
There are several types of subfloors, from plywood and concrete to screed and chipboard. Each has its own prep requirements, and not all floors suit every type. For example, concrete may require a damp proof membrane, while timber subfloors often benefit from structural checks and secure fixings. Screed needs to be fully cured and level, and chipboard may need additional underlay for stability. Matching the correct installation method to the subfloor type is essential for achieving a durable, long-lasting result.
How do you prepare your subfloor?
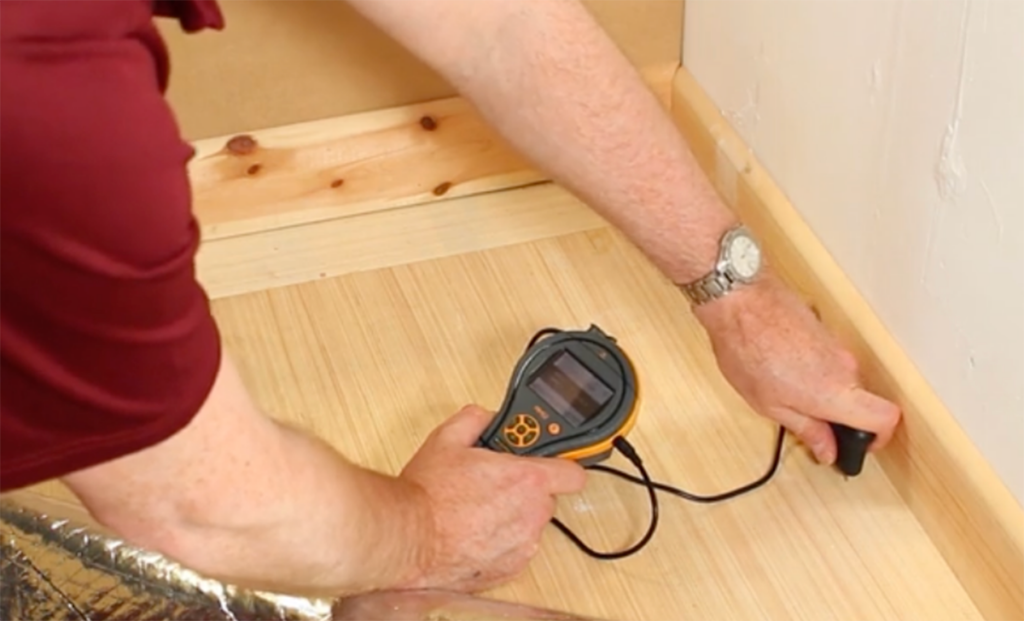
Getting this right means checking for three key things:
- Moisture: Excess moisture is the most common cause of floor failure. Always test before laying any boards, especially on concrete or screed.
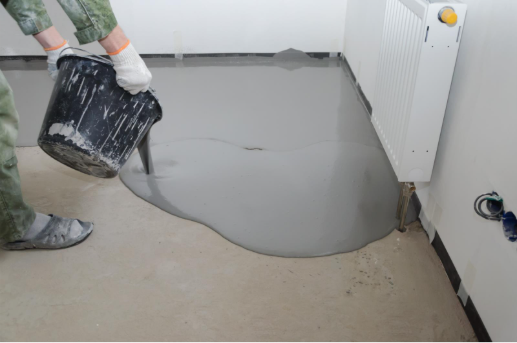
- Levelness: Use a 2m long spirit level to spot dips or high points. Levelling compound may be needed.
- Cleanliness and integrity: The surface must be solid and free of dust, adhesive or residue.
Here’s a quick reference guide to acceptable moisture levels across various testing methods:
| CM Reading | Relative Humidity (RH) | Wood Moisture Equivalent (WME) | Moisture Content (MC) | Condition |
| ≤ 0.5% | ≤ 75% RH | ~11–12% | ~0.3–0.5% | Acceptable: Install wood or Stratex floors |
| 0.6% | ~80% RH | ~12.5–13% | ~0.6–0.7% | Borderline: Dry further or apply surface DPM |
| 0.7% | ~85% RH | ~13.5–14.5% | ~0.8–0.9% | Too wet: Not suitable without specialist prep |
| 0.7% | > 85% RH | >15% | >1.0% | High risk: Will cause failure without treatment |
You should also consider whether to add underfloor insulation for wooden floors, which improves energy efficiency and comfort underfoot, especially in colder months.
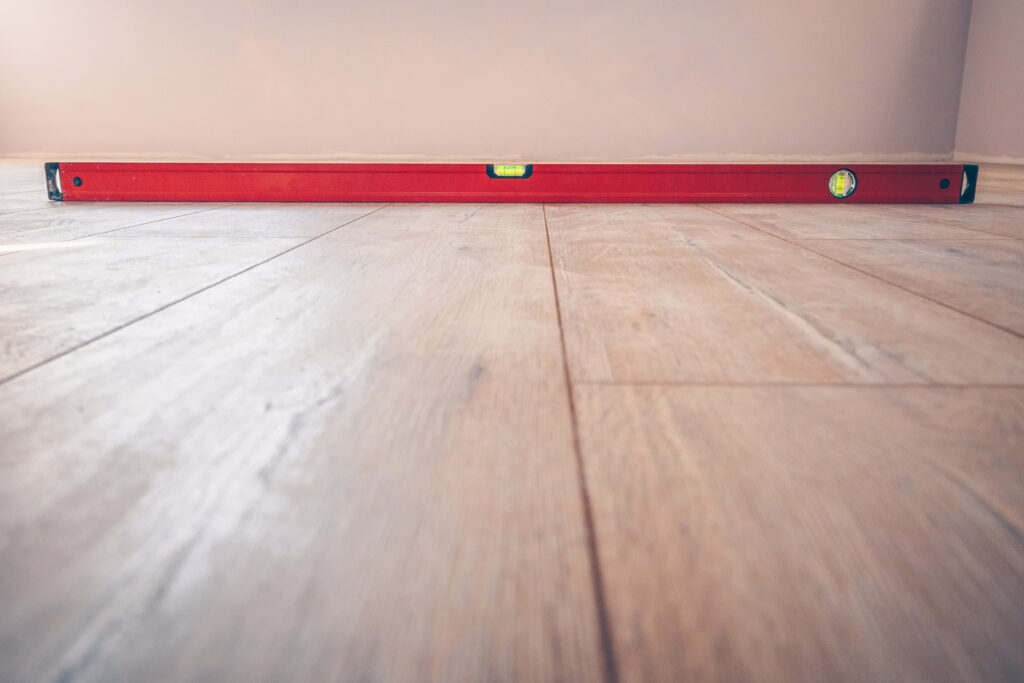
Flatness is just as important as moisture. To check it, place a long spirit level or straightedge (ideally 2 metres or more) across different areas of the subfloor. Look for gaps that indicate dips or rocking that suggests high spots. Most wood floors require the surface to be no more than 3mm out over 2 metres. Mark uneven areas clearly and either fill shallow depressions with levelling compound or carefully grind back high points. These steps ensure a stable base that avoids movement or noise later on.
Measuring up: how much flooring do you need?
Before placing your order, it is important to calculate your materials properly. A good flooring calculator will factor in your room dimensions and allow for wastage, typically around 5 to 10%. If you’re unsure how to measure a room for flooring, you should take the longest and widest points of the space and multiply them. This blog on Herringbone Floor Installation Cost also touches on useful factors like labour costs and typical levels of wastage, which can be helpful when planning your purchase.
Once you have your square metre figure, you might be wondering, how many packs of flooring do I need? That depends on the coverage per pack, which varies between ranges. Double-check the product specifications and always round up.
Choosing your flooring
With the prep underway, and your flooring and subflooring properly assessed, you can focus on the surface. If you’re torn between materials, our comparison of Engineered Wood vs Solid Wood helps weigh up the pros and cons of both. If you’re eyeing up a more contemporary look, do not miss our guide to LVT vs Real Wood.
Whatever you choose, consider your subfloor again. Solid wood is not suitable over underfloor heating, but Stratex or engineered options are.
Finishing touches that make the difference
Your flooring is only as good as what lies beneath it. That includes the right underlay, chosen for compatibility with your flooring and subflooring material. If you are pairing your new floor with radiant heating, be sure to check our guide to wood flooring and underfloor heating, which covers the dos and don’ts for each floor type.
And if you are planning to install a herringbone pattern, make sure to follow these 5 Tips for Successful Herringbone Installations. Pattern layouts are less forgiving when it comes to prep and alignment.
Preparing for a new floor goes beyond choosing a beautiful finish. It is about setting the right foundation with your flooring and subflooring, a duo that works together to deliver comfort, style and performance. With proper planning and a little attention to detail, you will avoid surprises and lay the groundwork for a floor that lasts.