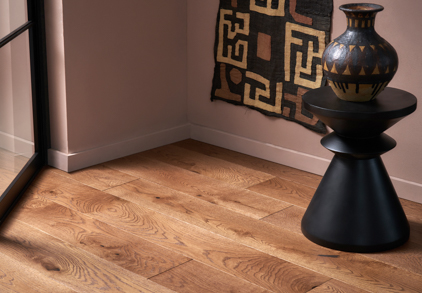
Flooring Calculator: Your Essential Guide to Accurate Planning
Choosing a new floor is an investment in the beauty and comfort of your home. A flooring calculator is the essential tool that helps you get the quantity right first time, saving you money, avoiding delays and ensuring a flawless installation.
This guide explains exactly how to use a flooring calculator, how to measure your room properly, why you need to include wastage and how to calculate it correctly.
Why a Flooring Calculator Matters
Ordering the wrong amount of flooring is a common and costly mistake. Too little means project delays while you wait for more, and too much is simply wasted money.
A flooring calculator helps you plan with confidence. It accounts for the size of your space, the dimensions of the boards, and an essential wastage allowance for cuts and fitting. It gives you an accurate estimate so you can order just what you need.
For more complex patterns, accuracy becomes even more important. Our herringbone floor installation cost guide shows why precision planning is vital when you want to achieve a perfect finish.
How to Measure Your Room
Before using any flooring calculator, you need reliable measurements. Accurate measuring is the foundation for good planning.
- Clear the space so you can measure all walls properly.
- Measure the longest length and width of the room. Remember, rooms often aren’t perfectly square.
- For irregular shapes, divide the room into rectangles or triangle, measure each section and add them together.
- Note any alcoves or recesses that need covering.
Write down each measurement carefully. Even small errors can affect your order quantity. Read our guide for How To Measure Your Room for more in-depth guidance, especially for odd-shaped rooms.
Why Is Wastage Needed?
Wastage isn’t about unnecessary extra, it’s about smart planning.
When installing flooring, boards need to be trimmed to fit walls, doorways, and alcoves. Offcuts can’t always be reused. Patterns like herringbone or chevron require angled cuts that use more material.
Including a clear wastage allowance ensures you have enough to complete the job without last-minute shortages or colour variation risks from buying more later.
How Much Wastage Should You Add?
Naturally, different flooring formats require different wastage allowances. You may be zoning your space by combining parquet and plank flooring, it’s important to plan for each style carefully. Consider these typical guidelines:
- Standard plank installation: add 5–10%
- Herringbone, chevron or parquet patterns: add 15–20%
- Design Panels: add up to 20% dependent on the shape of the room
- Large, open spaces with few cuts: closer to 5% may be sufficient
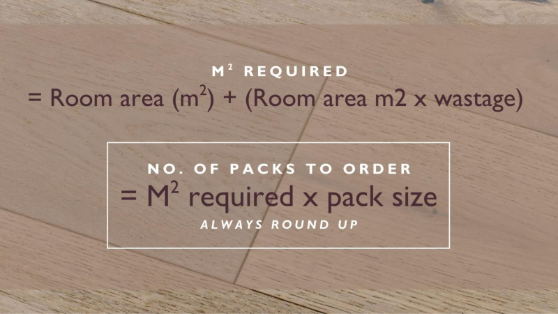
How to Calculate How Much Flooring You Need
Once you have your room’s measurements, calculating the right amount (including wastage) is straightforward.
Step by step:
- Measure the area (length × width) in square metres
- Decide on your wastage allowance (for example, 10%)
- Apply the calculation:
Total flooring = Measured area × (1 + wastage percentage)
Example:
- Room area = 20 m²
- Wastage = 10%
- Calculation = 20 × 1.10 = 22 m² to order
How to Calculate How Many Packs to Order
Once you know your total flooring requirement (including wastage), you can work out exactly how many packs you need.
Simply divide your total required area by the coverage per pack.
Example:
- Total flooring needed = 22 m²
- Coverage per pack = 2.166 m²
- Calculation = 22 ÷ 2.166 = 10.15
- Number of packs to purchase = 11. Always round up to the next whole pack, as you can’t buy partial packs. This ensures you have enough to complete the job without compromise.
If you are considering skirting or scotia beading around the edge of a room, as a rule of thumb, a 30m2 room will have a circumference of 30m1. In this instance 30 ÷ 2.4 = 12.5 (13 lengths required)
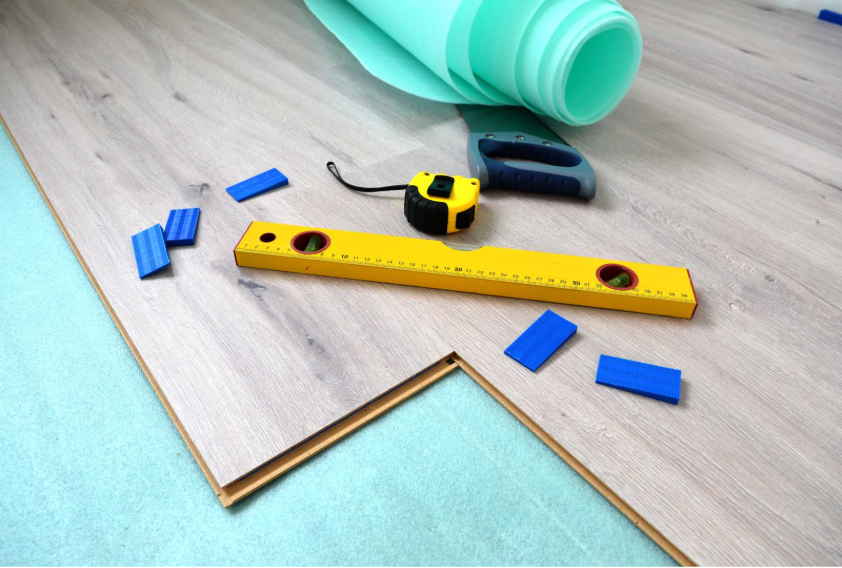
Planning Your Next Step: Installation
Once you’ve measured carefully, used a flooring calculator to work out your order and planned for wastage, you’re ready for the next important stage: installation. Taking time to understand what’s involved will help you achieve the best possible finish. For more guidance, take a look at our 5 tips for successful herringbone installation to see what to consider when it comes to fitting and pattern planning.
Enjoy Your Finished Space
After careful measuring, planning, ordering and installation, you’ll have a floor that truly transforms your room. The right preparation means you can simply enjoy the warmth, character and lasting quality of a beautiful Woodpecker floor, knowing it’s been done the right way from the very start.