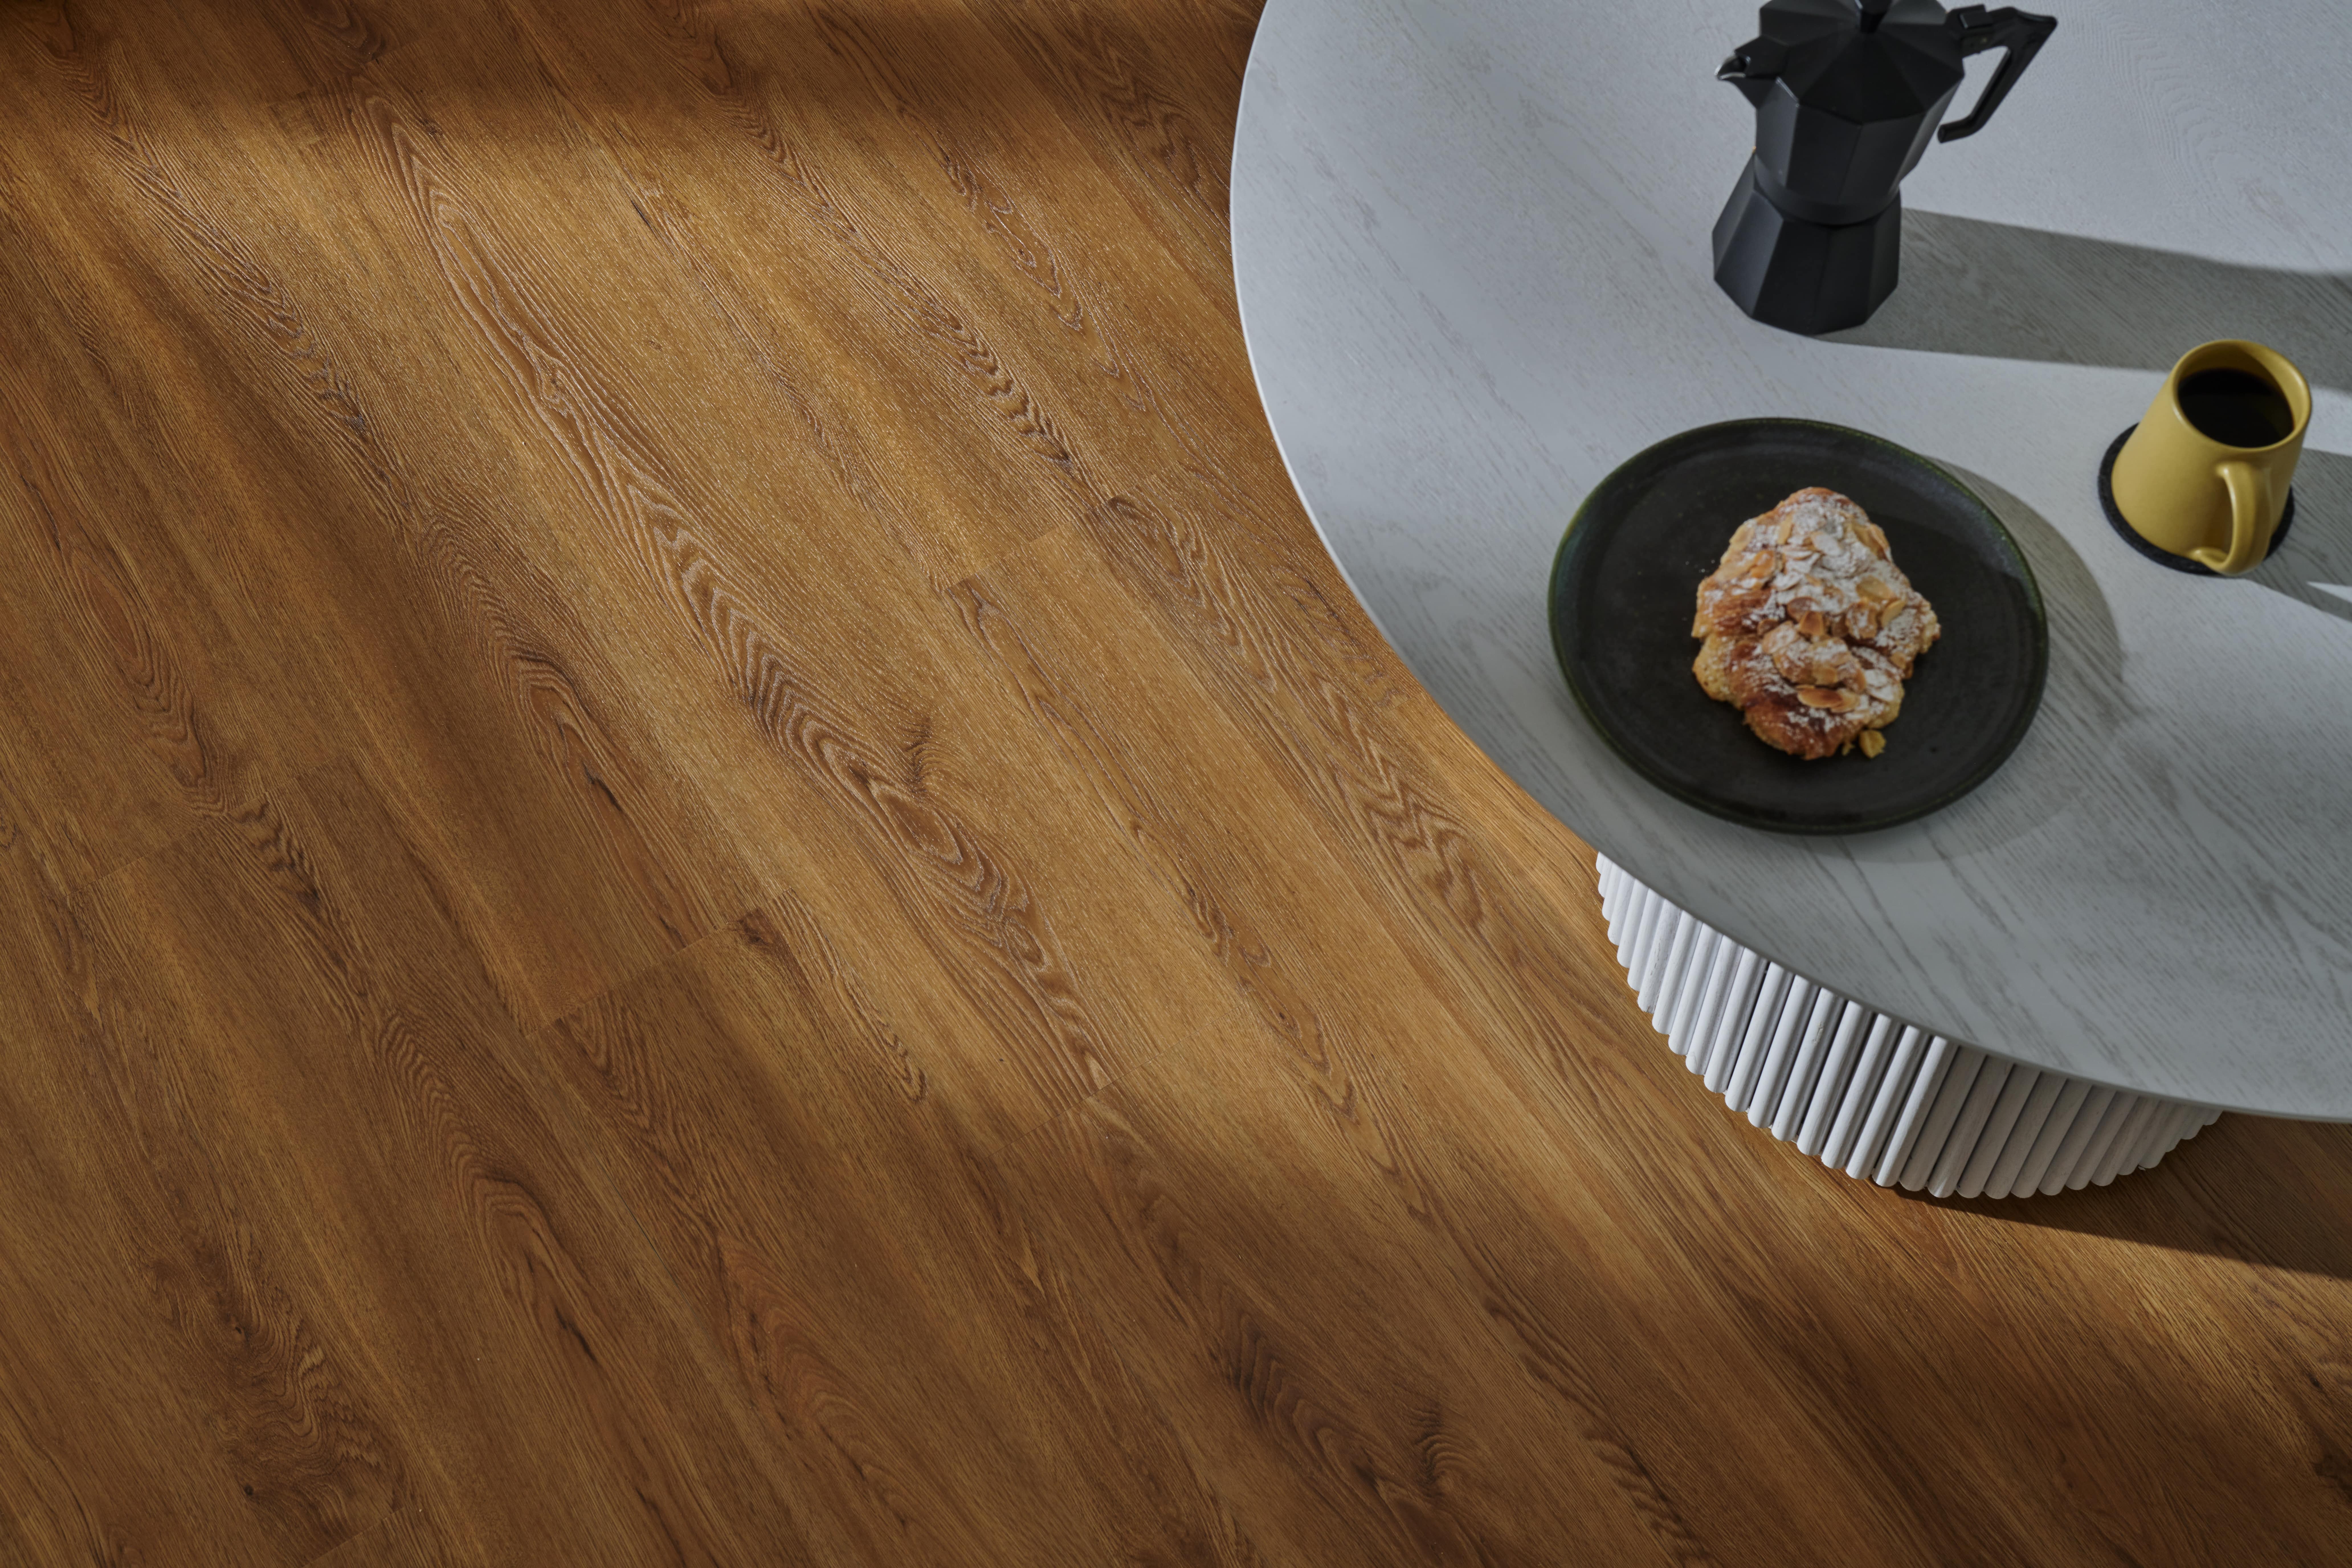
Why Do Stratex® Floors Fail? Avoid These Critical Mistakes

When customers ask why Stratex® floors fail, the answer is almost always in the preparation.
Stratex® is a high-quality flooring with a stable mineral composite core and a waterproof surface. It’s designed to last for years, but only if it’s installed on the right foundation, in the right way.
Misunderstanding Waterproof Performance
Stratex® planks are 100% waterproof, with a durable PU-coated vinyl layer. This surface easily resists spills and daily moisture, making them excellent for kitchens, bathrooms, and busy homes. Beyond its waterproof design, Stratex® offers a range of benefits including impressive stability, strength and style.
But remember: the installation system, a floating system with a locking joint, is not waterproof.
Water trapped beneath due to poor preparation can lead to mould growth, joint failure, lifting, or trapped condensation. Moisture must always be properly managed before laying the floor.
If you’re new to Stratex®, you might find this detailed guide helpful.
The Importance of Moisture Testing
Moisture is the single biggest cause of floor failure. Even if the subfloor feels dry, it may hide enough moisture to cause serious damage over time.
Industry standards recommend professional testing every time. For Stratex:
- Concrete: ≤ 70% RH (in-situ test)
- Timber: ≤ 11% WME
- Anhydrite Screeds: ≤ 0.5% CM
Reliable tools like a Protimeter MMS, Tramex, or CM tester are essential. Skipping this step can mean starting with a hidden problem you won’t see until it’s too late.
Do You Need a Damp-Proof Membrane (DPM)?
If relative humidity is over 70%, a liquid-applied DPM or physical DPM is essential.
Without it, rising moisture will eventually compromise even the best installation. This isn’t optional; it’s part of protecting your investment and meeting industry standards.
Sealing Perimeters the Right Way
It’s tempting to use silicone or mastic to seal the edges tightly, thinking it will keep water out. In fact, this restricts the movement of a floating floor.
Without the ability to expand and contract, the floor can buckle, tent, or damage their joints.
Stratex® is stable between 15-25 °C, but if your space has more extreme variations, allow 2-3 mm expansion gaps around all perimeters and fixed objects.
Never seal these gaps rigidly. Leave them open and cover them with scotia or skirting that does not pin the floor down.
Installing Beneath Fixed Units
Stratex® is a floating floor designed to move slightly with environmental changes. Anchoring it beneath heavy kitchen units or islands prevents this movement.
Over time, you may see buckling, cracked joints, or an uneven finish in larger areas.
The best practice is to always install the kitchen first. Then lay Stratex® up to the unit plinths, leaving the necessary gap. This avoids waste and ensures reliable performance.
Subfloor Flatness: The Professional Standard
Stratex® has a rigid, durable core that copes well with small imperfections, but the subfloor still needs to meet flatness requirements.
British Standard guidelines:
- SR1 (recommended): < 3 mm deviation over 2 m
- SR2 (acceptable): < 5 mm over 2 m
- SR3: (unsuitable): <10mm over 2 m
Assess the subfloor with a 2m straightedge and slip gauge, addressing high spots with grinding or filling low areas with compatible levelling compounds to achieve correct flatness.
Underfloor Heating Considerations
Stratex® works beautifully over underfloor heating when the right steps are followed. The subfloor surface temperature must never exceed 27 °C, protecting the structural integrity of the floor. Before installation, sealed packs should acclimatise in the room for at least 24 hours. Heating systems should be turned off 48 hours before fitting begins, ensuring the subfloor cools to a safe temperature. After installation, the temperature should be increased gradually, no more than 1 °C per day, to avoid sudden expansion or shrinkage. This measured approach ensures the floor remains stable and prevents costly issues caused by improper underfloor heating management.
Stratex®’s Built-in Underlay
Stratex® includes its own carefully engineered integrated underlay, designed to work perfectly with the product’s thickness and click-joint system. Do not add extra underlay; this can harm the installation by creating a soft, compressible layer. This added give stresses the click joints over time, potentially weakening them and leading to failure. To ensure long-lasting performance, always install Stratex® directly onto your properly prepared subfloor, maintaining the stability and feel it was designed to deliver.
Compared to many laminates or standard vinyl floors, Stratex® is designed to deliver greater stability, built-in waterproof performance, and the reassurance of an integrated underlay when properly installed.
Conclusion: Why Getting It Right Matters
Stratex® flooring is built for durability, stability, and waterproof performance, making it a smart choice for kitchens, bathrooms, and busy family spaces. But your preparation and installation choices determine its success. Taking the time to test moisture properly, ensure subfloor flatness, manage expansion gaps, and follow best practice for underfloor heating creates the conditions for lasting results. By understanding why Stratex® floors fail, you can avoid common mistakes and enjoy a beautiful, reliable finish for years to come. For full installation instructions and clear, detailed guidance, our online resources are designed to help you achieve the best results with confidence.


