How to Lay Herringbone Flooring: A Step-by-Step Guide
You may be questioning how to lay herringbone flooring. It takes care and planning, but it’s a rewarding investment. The beauty of parquet lies in its balance of craftsmanship and character, making a statement in any room without ever feeling overdone. When done right, it adds instant character to your home and creates a space that feels crafted, elegant and full of personality. Here’s how to lay herringbone flooring confidently, with expert tips to guide your project.
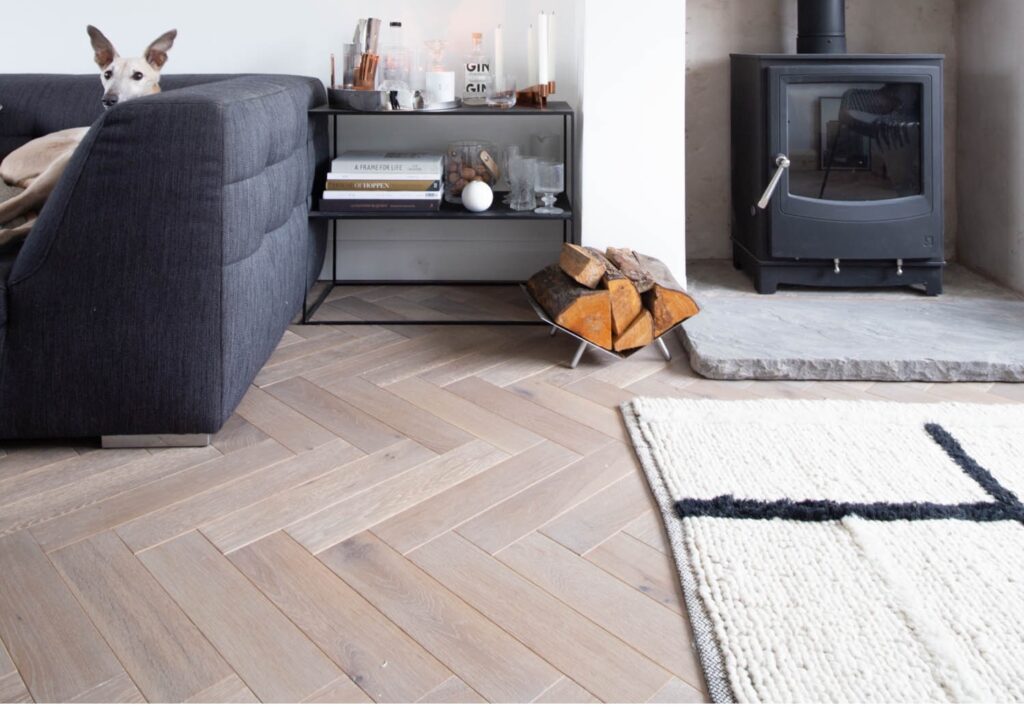
Whether you’re after something timeless or more contemporary, herringbone works beautifully across different styles – just take this grey herringbone in a minimal home as an example of how subtle tones and clean lines can transform a space.
1. Let your boards acclimatise
Acclimatisation is the process of allowing your flooring to adjust to the temperature and humidity of the space where it will be laid. Before anything else, give your flooring time to settle into its new environment. It depends on the time of year and conditions in the property of installation but as a guideline:
- Solid wood: 5-10 days
- Engineered wood: 3-4 days
- Stratex flooring: 24 hours
Boards should be left in their sealed packaging, in the room where they’ll be laid, with normal lived-in temperature and humidity.
2. Check moisture before you start
Your subfloor and the room’s humidity need to be within safe limits before laying any flooring. Moisture testing helps make sure the environment won’t cause movement or failure down the line. Excess moisture can lead to boards expanding, warping or lifting once laid.
As a guide, moisture levels should be:
| CM Reading | Room Humidity | Wood Moisture Equivalent | Moisture Content | Suitability |
| ≤ 0.5% CM | ≤ 75% RH | ~11–12% WME | ~0.3–0.5% MC | Acceptable: Install wood or Stratex floors |
| 0.6% CM | ~80% RH | ~12.5–13% WME | ~0.6–0.7% MC | Borderline: Dry further or apply surface DPM |
| 0.7% CM | ~85% RH | ~13.5–14.5% WME | ~0.8–0.9% MC | Too wet: Not suitable without specialist prep |
| 0.7% CM | > 85% RH | >15% WME | >1.0% MC | High risk: Will cause failure without treatment |
3. Prepare your space and plan your layout
Start with a flat, dry subfloor. Whether you’re working with concrete, plywood or existing timber, make sure it’s clean and even.
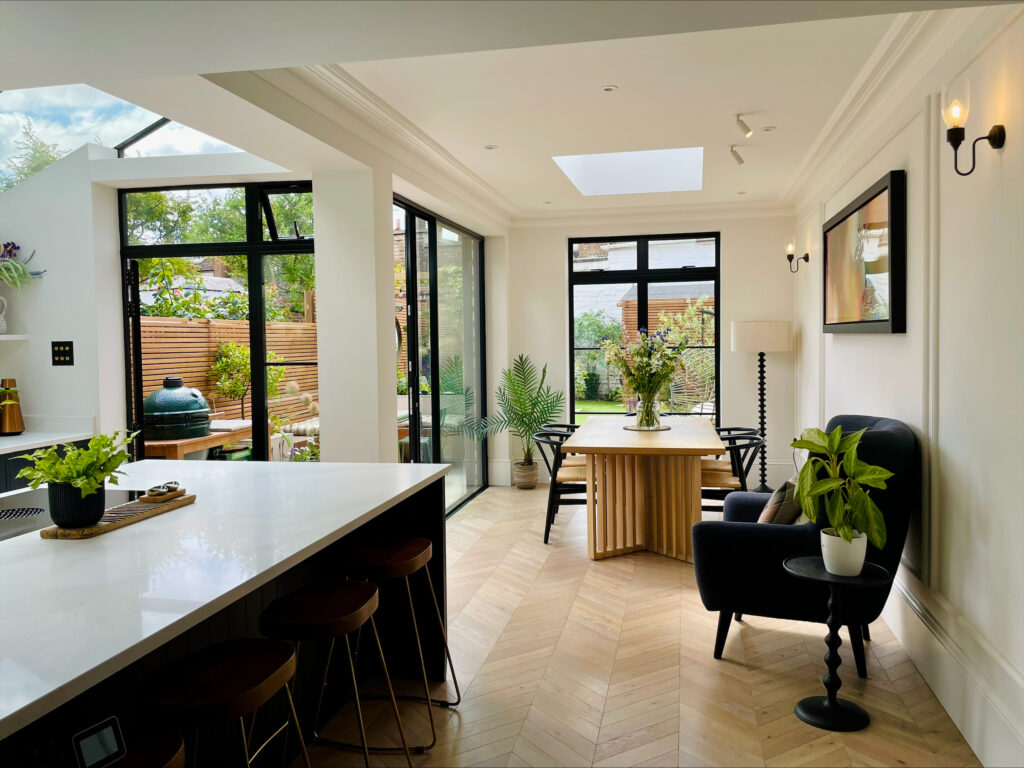
Next, set your layout. Find the centre of the room and mark out a central line. This is your guide for a balanced design. From here, you can decide which way to lay wood flooring to best suit your space. In most rooms, running the pattern away from the main entrance draws the eye in and enhances the sense of flow.
For a sharp, professional finish, you might consider a border with design strips or to separate different areas.
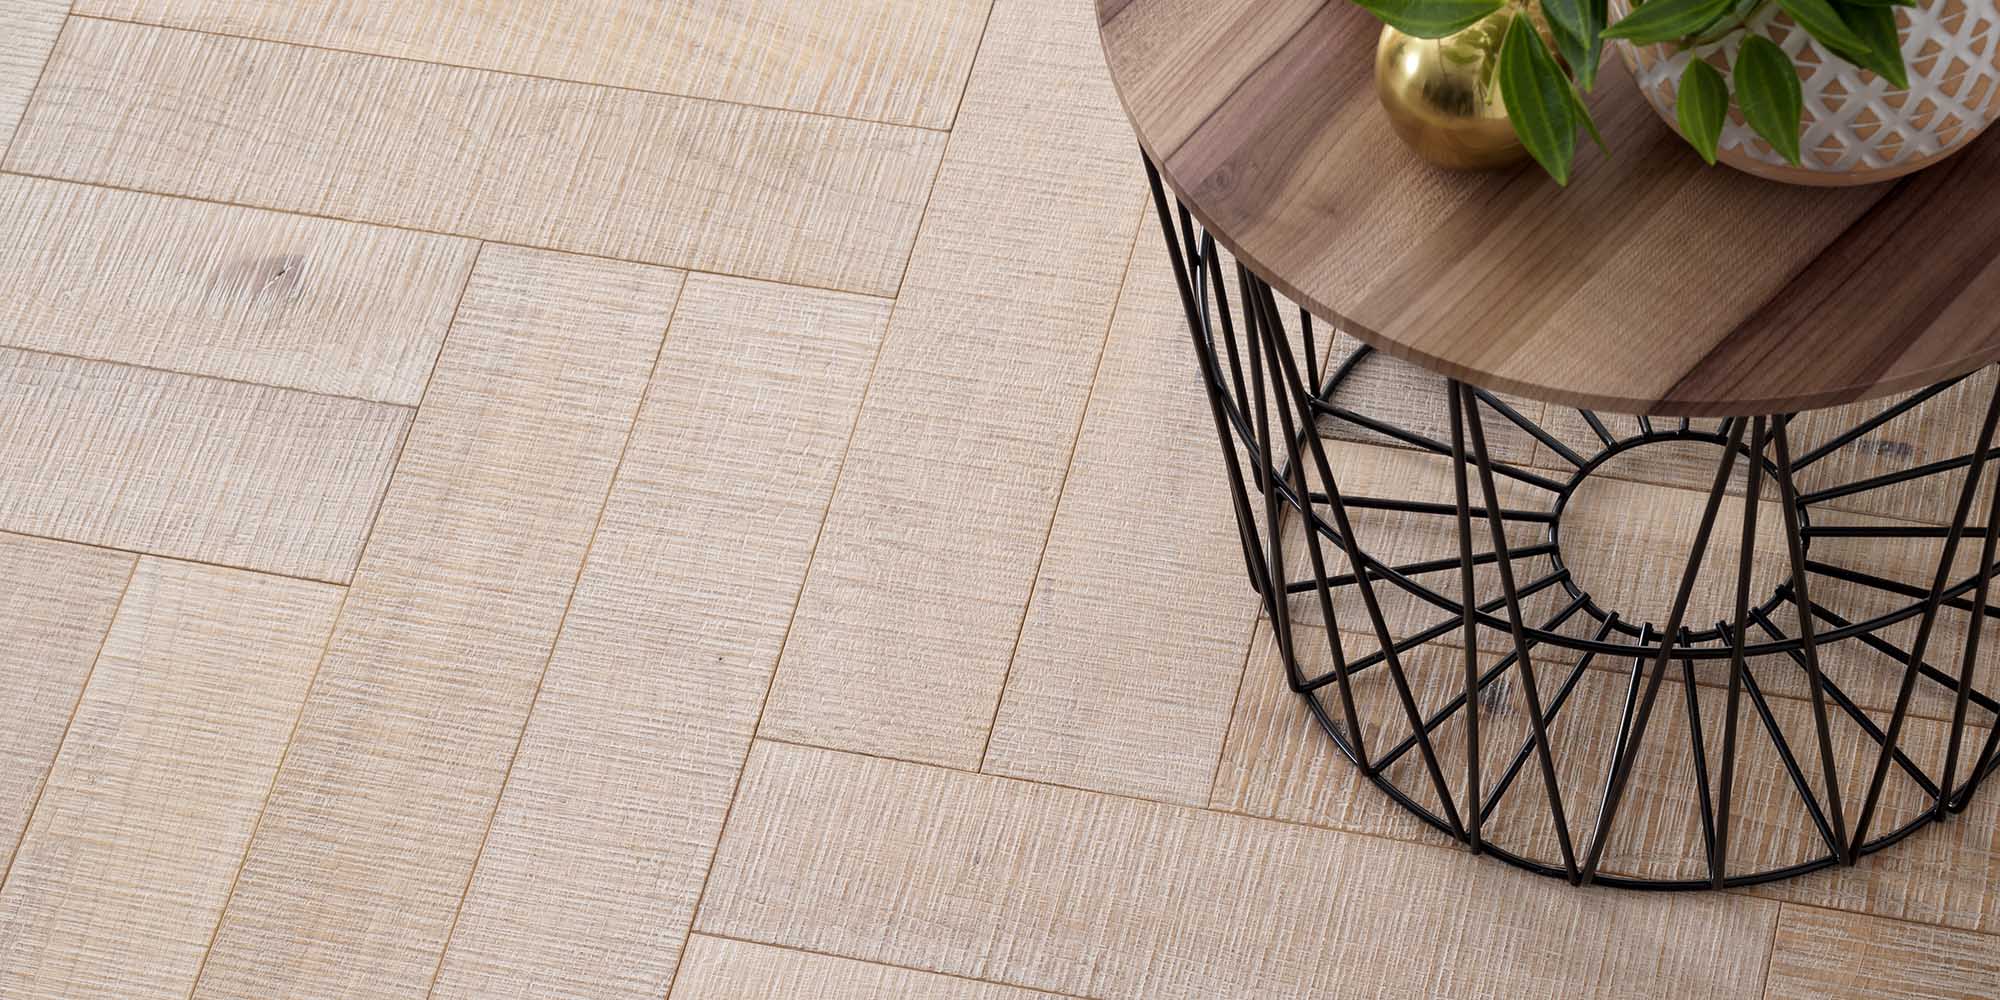
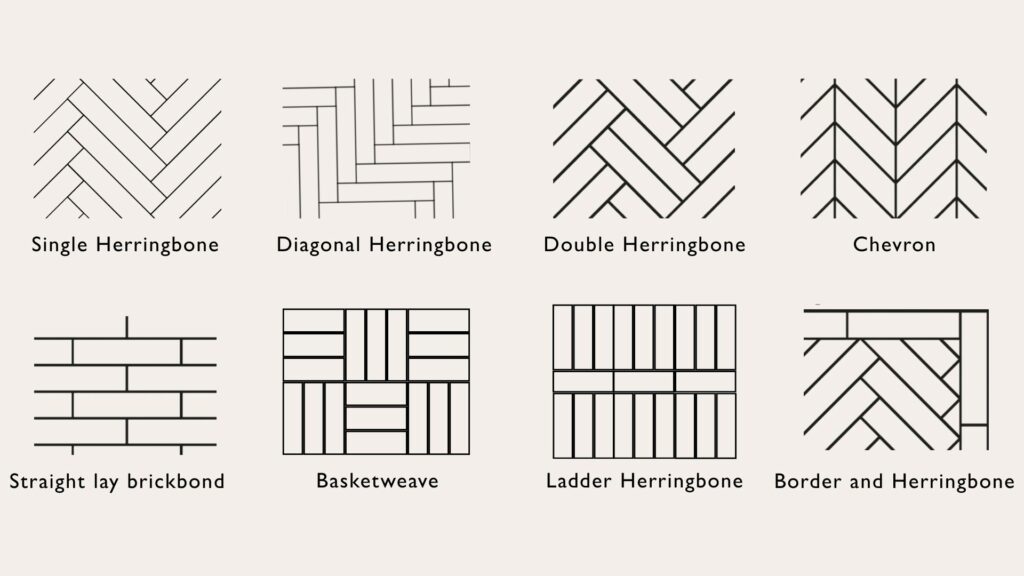
There are several herringbone layout styles to choose from, including single herringbone, double herringbone, chevron, basketweave, Two-Colour Herringbone, Ladder Herringbone, Diagonal Herringbone, and straight lay brickbond. This guide focuses on single herringbone, which is the most traditional and widely used pattern.
4. Choose how you’ll fit your herringbone floor
Herringbone flooring can be glued down, nailed, or floated depending on the type of board, your subfloor and whether you have underfloor heating. The pattern adds complexity, so the method you choose needs to provide stability and support over time.
- Glue-down: The most common method for herringbone. It keeps every block firmly in place and is essential for tongue and groove boards with underfloor heating. Always use a flexible adhesive suited to your subfloor. If you need to adjust planks or remove excess, act quickly. And if you’re cleaning up after, use a soft cloth and the cleaner recommended by your adhesive manufacturer, such as Bona Remove or a pH-neutral adhesive remover, checking it’s safe for your floor finish.
- Nail-down: Works well on timber subfloors and is a traditional option for solid wood parquet. Best suited to experienced installers.
- Floating: This is often used for click-joint engineered or Stratex flooring. It’s a quicker method and often a good fit for DIY projects, as long as the product allows it.
No matter which method you use, the key with herringbone is precision. Follow the recommended approach for your specific product and make sure your subfloor prep is solid.
5. Start at the centre, work outwards
For tongue and groove herringbone, begin by creating a V-shape with the boards at the centreline. Draw parallel lines outside the width of the V in the direction the pattern will be laid. Then add one full row at a time, working from the centre out.
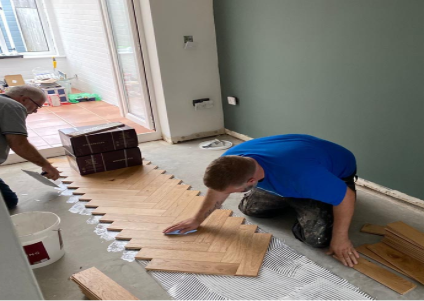
With click-joint herringbone, identify the left- and right-handed boards and start laying from side to side across the room. Begin at your starting wall using triangles to anchor the pattern, and use the centreline to keep everything straight.
Keep checking for alignment as you go. Herringbone is unforgiving if things drift, so regular checks against your reference line will save you a headache later.
6. Cut carefully and leave expansion gaps
As you reach walls and edges, you’ll need to trim planks precisely. A quality mitre or table saw helps here. Remember to leave expansion gaps around the perimeter and any fixed features like pipes, kitchen units or columns. These gaps must be kept free of adhesive to allow for natural movement.
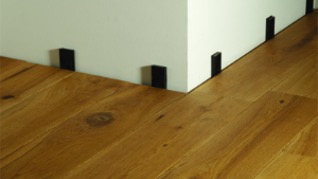
To finish neatly, consider matching skirting or beading, or explore our full range of wood flooring accessories.
7. Clean up and protect your new floor
Once the last board is laid, clean the surface carefully. If you need to know how to remove floor adhesive, use a soft cloth and the cleaner recommended by your adhesive manufacturer, such as Bona Remove or a pH-neutral adhesive remover, checking it’s safe for your floor finish.
Let everything settle before moving furniture back in. Using protective pads under furniture legs helps keep your floor looking its best. For care tips, see our hardwood floor cleaning guide.
Your next steps
If you’re weighing up your options, you might want to read about installation costs or understand which pattern – herringbone, parquet or chevron – is right for your home.
For broader inspiration, see our top 5 tips for successful herringbone installation, or explore how to combine styles with plank and parquet in the same space. If you’re deciding between materials, it’s worth reading about the difference between engineered and solid wood and the benefits of Stratex flooring.
With care, the right prep and a good eye, you’ll create a floor that brings life to your space every day.
